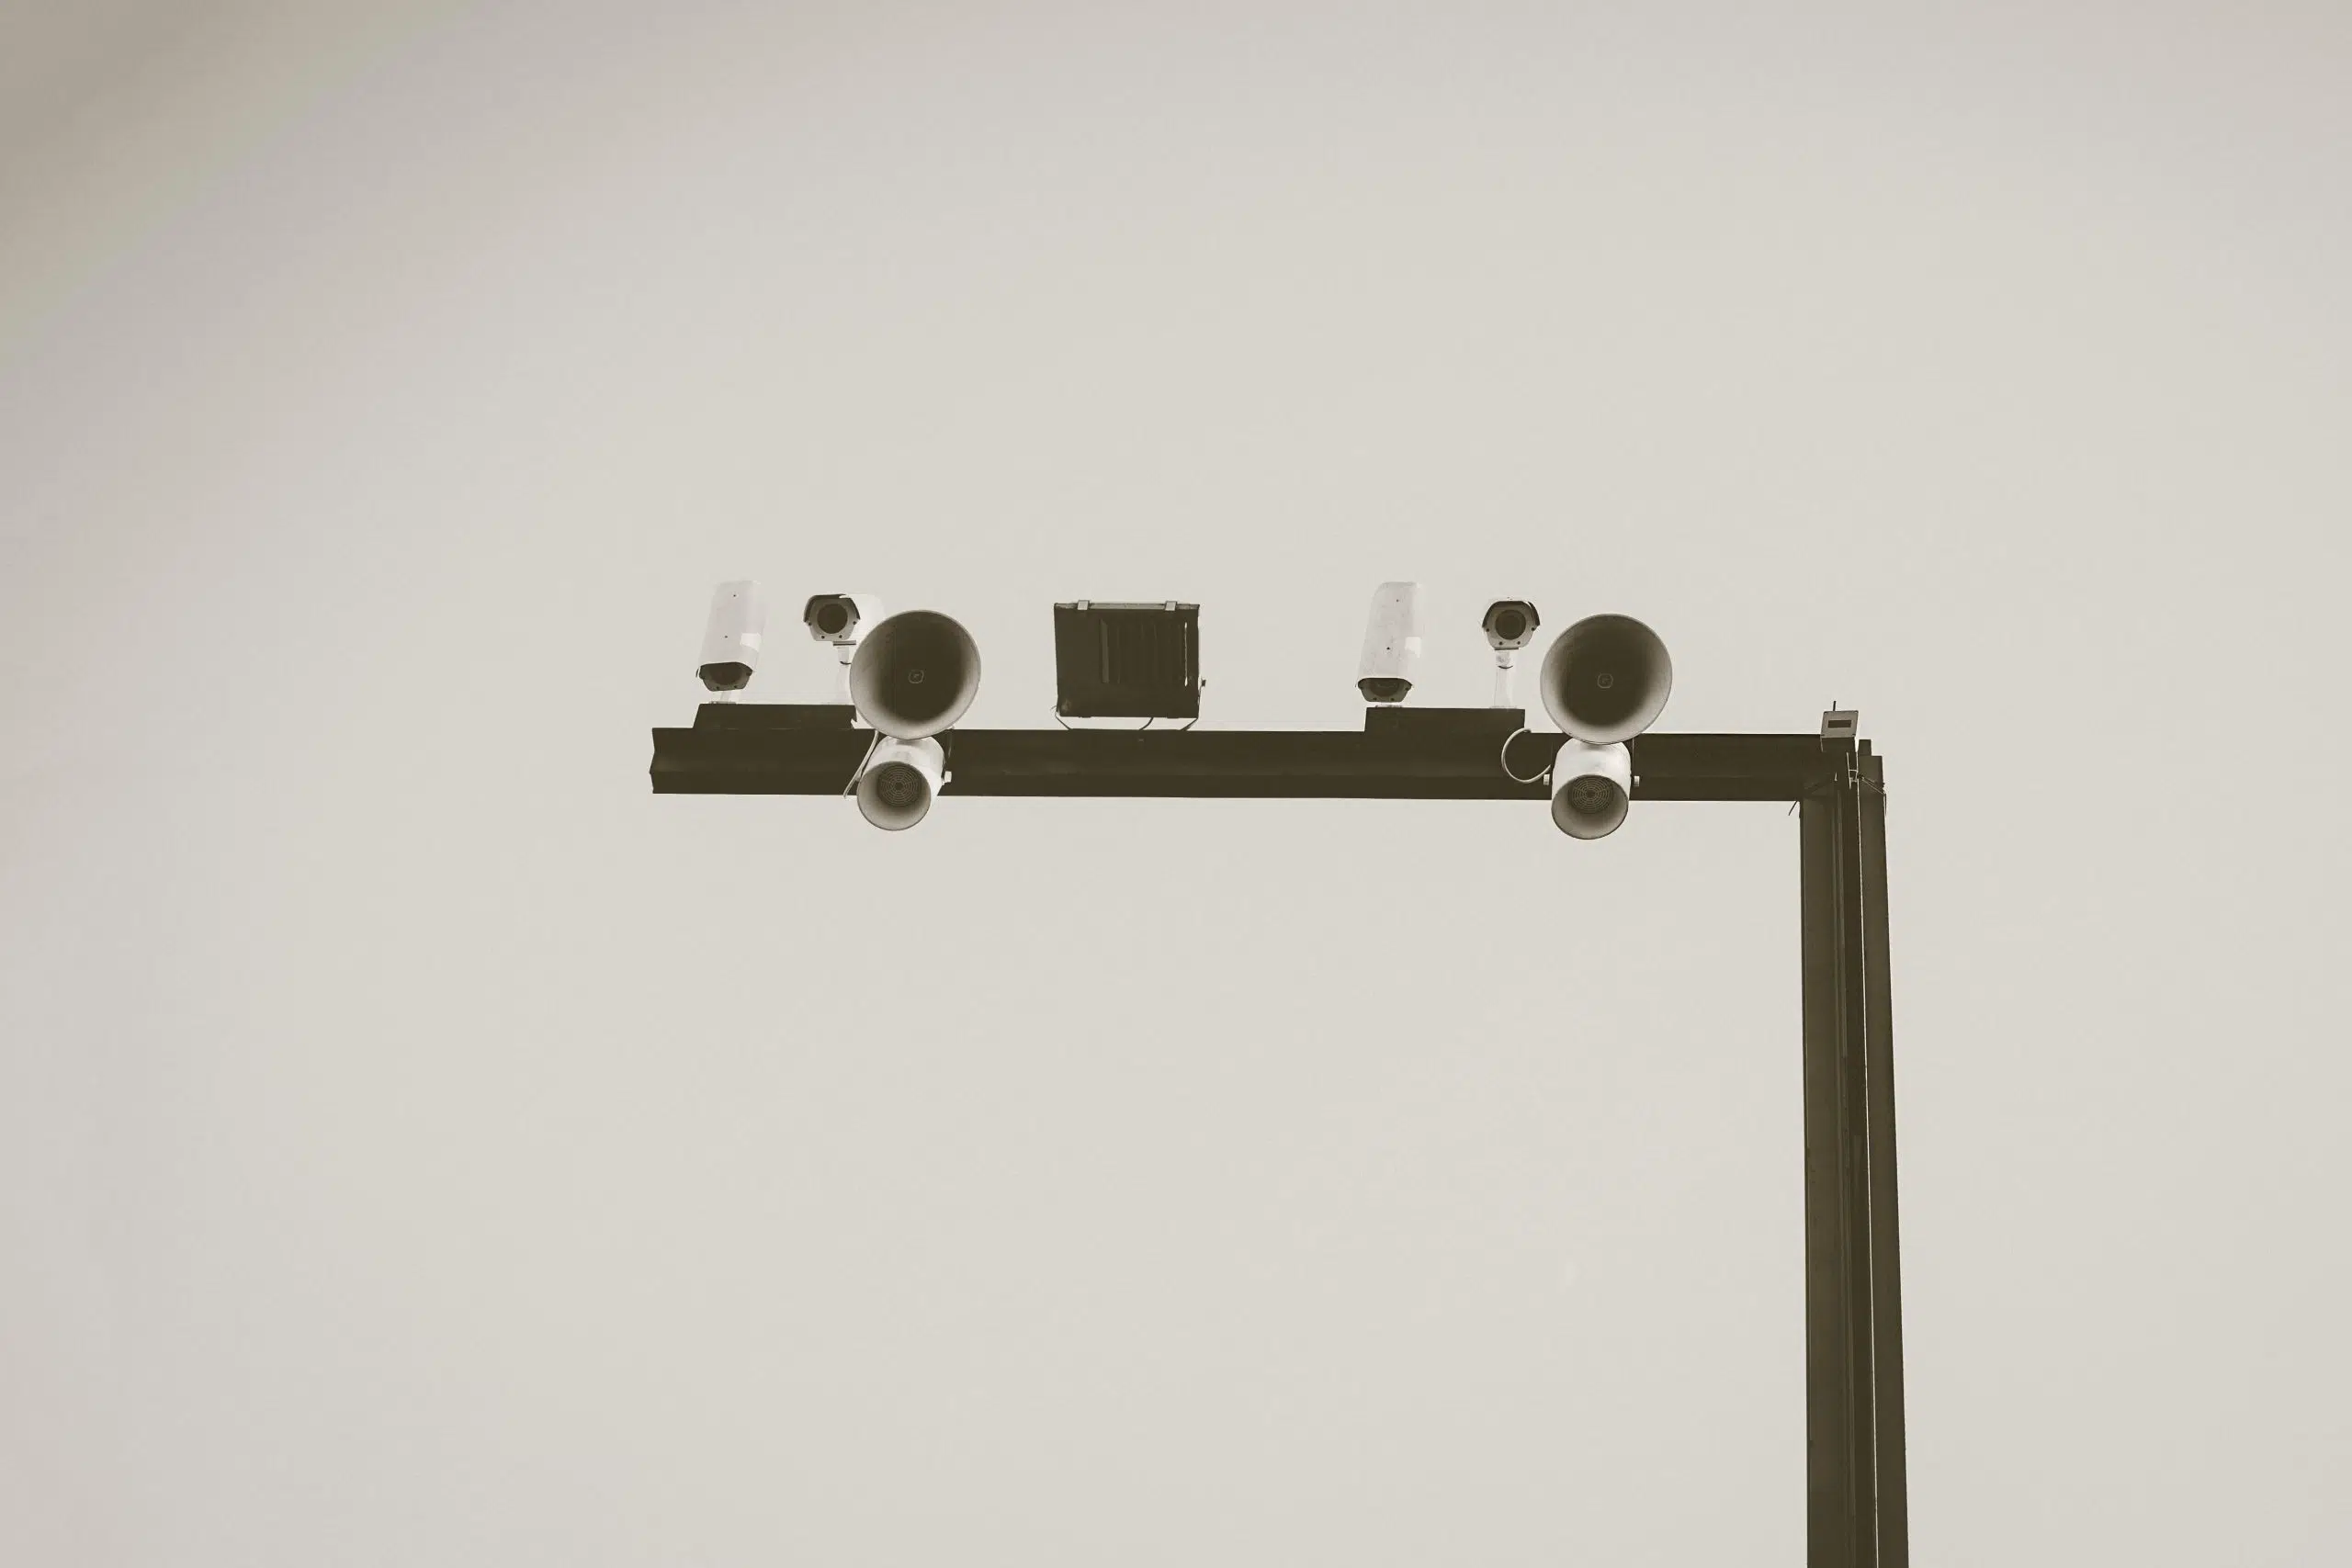
Effortless CCTV Camera to Your TV Connection
A Step-By-Step Guide
First of all,
Installing a closed-circuit television, or CCTV, camera in your home is a smart way to keep an eye on things and bolster security. A detailed guide on installing a CCTV camera at home may be found below. Suppose you have purchased a DIY CCTV designed for home installation.Effortless CCTV Camera to monitor Connection.Therefore ,home security by installing a CCTV camera. Below is a detailed guide for DIY CCTV system setup.
Step 1: Choose the appropriate kind and location of the Connect CCTV camera.
Kind of Camera:Additionally, consider the kind of camera you need.As certain whether you need indoor or outdoor, wired or wireless, and night vision.
Location: Choose the key areas to watch, such as roads, gates, or certain rooms. Ensure the camera is out of reach and has a clear vision to stop misuse.
Step 2: Remove everything you own and use them to get to know yourself.
Open: Carefully unpack the CCTV camera and any accessories that came with it.
Acknowledge:Learn about the components, including the mounting hardware, power supply, camera, and any included cords.
Step 3: Set the mounting bracket in place
First,press the support bracket up against the wall or ceiling where you want to install the camera, then use a pencil to indicate where the screws should go.Next, to guarantee strength, place the mounting bracket in its proper location. Place the digital camera where it belongs.Following a solid bracket installation, attach to Connect CCTV Camera to it according to the manufacturer’s instructions. This usually means you must snap or fit the device onto the mounting bracket. Finally, adjust the device’s angle to ensure the required area is covered.
Step 4:Effortless CCTV Camera
<span style=”font-size: 14pt;”>After installing the camera,connect the electricity and video cords to the power source and DVR if your system is wired. Cable holds and drill holes can be required to secure the wires along walls or roofs.Additionally, if lines are outside, ensure they are protected from the elements and do not provide a trip risk.
Power Connection: First,Connect the power supply to the camera’s power connector. If the camera is Internet activated, there will only be one connection to the network router or DVR (the power over Ethernet). Put the DVR or NVR in place.
DVR/NVR link: Next,attach the DVR/NVR to a power source and a television or monitor.
Get the system going: After attaching thDVR or NVR by following the setup directions shown on the screen. This might include adjusting the date and time, formatting the hard drive, and modifying the recording settings.
Step 6: Set up the network (IP camera) configuration
Network Connection: Regarding the network connection, a couple of options are available to you. WiFi can be utilized for a wireless setup, which is offered for the convenience of fewer cables and greater flexibility in camera placement. Alternatively, Ethernet connections can be employed to connect your IP cameras directly to your network router, ensuring a more stable and reliable connection is provided. The method that best suits your needs and the specific requirements of your surveillance system should be chosen.
IP Configuration: You can manually assign IP addresses to your cameras or use WiFi on your network. Follow the instructions in the handbook to see the camera’s settings.
Step 7: Give the configuration a test
Verify Video Feed: To ensure seamless integration, make certain that the camera provides an accurate video feed to the DVR or NVR. Consequently, this will enable effective recording and monitoring of the environment.
Test Recording: To guarantee that the system records video correctly, it is essential to conduct a test of the recording capability. By doing so, you can confirm that the setup is functioning as intended and address any issues that may arise during the process.
Check for Remote Viewing: Firstly, establish the connection on your computer or smartphone if your system supports remote access. Then, to ensure everything is working properly, verify the connection through the designated app or software. This step is crucial for maintaining access to your system from anywhere at any time.Step 8: Loosen up and clean up
Make sure each cable is safely fastened and shielded from damage.
Clean Up: Initially, organise the installation space to create a clean and efficient working area. Subsequently, store any extra tools or cables for later use to maintain order and ensure that you have necessary supplies on hand for future maintenance or adjustments.
Step 9: Check and Maintenance
Review Video:Always check your video footage to ensure everything works as it should.
Maintenance: Regularly clean the sensor and lens and check that there are no problems with the wiring or equipment.
Regulation and security concerns: Consistently follow the manufacturer’s safety instructions and advice.
Ensure your camera installation respects other people’s privacy and complies with any applicable municipal laws or ordinances regarding security cameras.
Consider informing your neighbors if a factor outside your home is captured on video.
Ensure the network is secure and know how cameras with IP addresses affect security.
Depending on your specific camera system and the setup of your home, installation requirements can vary significantly. Therefore, it’s important to tailor the installation process to these unique factors.If any of these phases prove challenging, consider hiring a professional to set up the system.
How to Install CCTV Camera
Step 1: Select the proper camera type and position.
Type of Camera:Determine whether you need wired or wireless, indoor or outdoor, and vision at night.
Location:Decide which essential places to watch, including driveways, gates, or specific rooms. To prevent abuse, ensure the camera is out of reach and has a good view.
Step 2: Take out and get to know yourself with your items.
Open:Unpack your CCTV camera and any included equipment with care.
Recognize:Become familiar with the parts, such as the fixing hardware, power supply, camera, and any cables that come with it.
Step 3.Place the mounting bracket
Mark Position:Using a pencil, mark the location of the screws on the support bracket by holding it up against the wall or ceiling where you wish to attach the camera.Put the bracket that mounts into position to ensure strength.Put the camera in place.
Attach Camera: After the bracket is firmly in place, attach the camera to it according to the guidelines provided by the manufacturer. Typically, this entails snapping or fitting the camera onto the mounting bracket.Adjust the camera’s angle to ensure coverage of the desired region.
Step 4: If your system is wired, first ensure you connect the cables.
Map Out Your Route:Determine the best path for the wires connecting the camera to the surveillance system or DVR (digital video recorder).
Make use of cables:To ensure a successful setup with a wired system, actively connect the power and video cables to the DVR and the power outlet. It could be necessary to use cable holds and drill holes for securing the lines along walls or roofs. If wires are outdoors, ensure they remain safe from the weather and do not pose a trip hazard.
Step 5 :Connect the camera
Video Connection: Connect the camera’s video cable to the DVR.
Power Connection: Attach the camera’s power connection to the power source. This will be a single connection to the DVR or network router if the camera is WiFi (power over Ethernet).
Install the NVR or DVR.
Link DVR/NVR:Connect the DVR/NVR to a power supply and a monitor.
Following the setup instructions on the screen, turn on the DVR or NVR. This might include formatting the hard disk, changing the recording settings, and setting the date and time.
Step 8 :Configure network settings (for IP cameras)
Network Connection: If you own IP cameras, you may use Ethernet cables or WiFi to link them to your network router.
IP Configuration: Use WiFi on your router or manually give IP addresses to your cameras. To see the camera’s settings, adhere to the instruction manual.
Step 9: Test the setup
Check Video Feed: Ensure the DVR or NVR receives a precise video feed from the camera.
Test Recording: To ensure the system collects video appropriately, test the recording feature.
Check for Remote Viewing: Establish and confirm the connection on your computer or smartphone if your system allows it.
Step 10: Secure down and clean up
To guarantee the integrity of your setup, make sure to securely attach each cable and take steps to protect them from any potential harm.
Clean Up: Tidy up the installation area and stash away any spare wires or screws for future use.
Step 11: Examine and Sustain
Review Video: Watch your video footage regularly to ensure everything works as it should.
Maintenance:Make sure there are no problems with the components or wiring, and clean the camera lenses frequently.
Regulatory and security issues:Always heed the safety measures and advice issued by the manufacturer.
Ensure your camera installation follows local rules and regulations governing surveillance cameras and respects the privacy of others.
If your cameras happen to record something outside of your property, think about telling your neighbors.
Ensure your network is safe and understand the implications of IP cameras for protection.
Installation requirements may vary greatly depending on the specific camera system and the configuration of your house. Consider getting a professional to install the system if you find any of these steps difficult.


